|
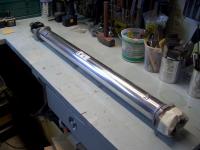
Cleaned up the LS1 Drive Shaft.
|
Found this LS1 used drive shaft on a car forum for $75. The shaft came with two new-in-the-box GM universal joints. That was a nice perk, those GM U joints cost about $65 each and are much better design than the standard replacement joints.
After installing the new U joints, the shaft was wet sanded with 400 grit paper, then polished using a power buffer. Came out with a nice polished finish.
|
|
|
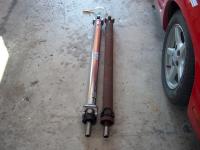
Here you can see the steel 3.8 V6 steel shaft is narrower than the aluminum. Otherwise they are the same length.
|
Old Shaft Out.
|
|
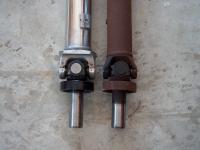
Yokes
|
The Yokes are the same.
|
|
|
GM Service Information says to coat the yoke spline and bearing surface with chassis grease before installing. I smeared a very thin coat of grease on the parts, then the shaft slid right into the tail housing with no problem. The shaft and lobes are wider than the steel shaft, so its a little tighter, but still plenty of room to install.
|
Installing new Shaft
|
|
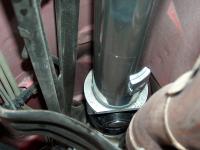
Pinion Yoke
|
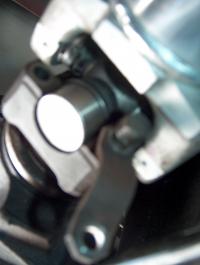
The photo is a little out of focus, but it shows the drive shaft U joint mating up to the rear axle pinion yoke. A little tapping from a screw driver handle was needed to seat the bearing caps before tightening them down.
That's it. The shaft is installed.
|
|