|
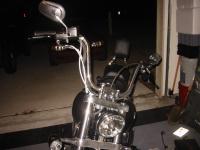
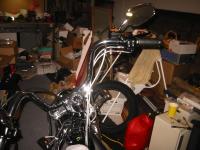
Stock bars
|
Bad picture, but you can see the wire looms that run the length of the bars on both sides.
|
|
|
Another shot of the stock bars.
|
Stock bars again
|
|
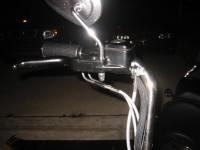
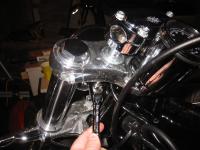
Closer shot of the right hand controls and wire loom
|
You can see the wire loom clearest here . . . . UGLY!!!!
|
|
|
I had my hands full getting this tank drained and so I never snapped any shots. The service manual tells you how remove the dash and tank. You need to get to the under-frame wire harness storage area in order to do this project.
|
Tank, dash and seat
|
|
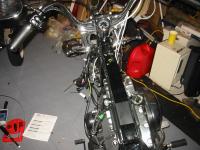
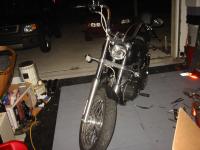
Picture of the bike with tank removed
|
Here is the bike with no tank.
|
|
Using the service manual, you can identify the style and number of pins for any connector. This makes it a ton easier to find the correct connector.
My dad's Sportster manual actually gives connector color (i.e. black or gray) which would have been nice. Instead I had to look at the wire colors and the diagrams to determine which was which. Not difficult though.
|

Locate the connectors for both left and right switch sets
|
|
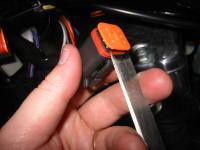
Disassemble the connectors
|
Using the service manual you can find out how to disassemble the connector so that you can pull the wires and sockets free.
|
|
The wires have sockets crimped on the ends and the connectors hold the sockets in place (mating connectors have pins crimped on instead of sockets).
Pull the sockets from the connectors. With the connectors removed, you can then pull these wires back out of the bike frame.
|
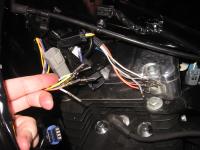
Remove wires and sockets
|
|
Remove all hand controls and switch housings
|
Remove all hand controls and switch housings from the stock bars. Be sure not to kink any of the cables or that brake line. I was able to place most of that stuff carefully in the seat area.
|
|
|
I probably should have done the risers first, because the top clamp will keep the risers from twisting. I removed the bars, put the top clamp loosely on and removed the risers.
|
Remove bars and risers
|
|
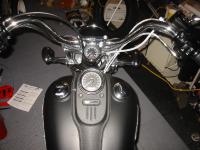
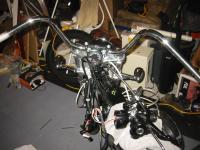
New bars
|
I skipped pictures on most of the good stuff . . . sorry. I had to search and search to find these stinking risers. When I finally got them, I was a bit eager to finish.
This isn't a complicated project. Among the tricky stuff is getting the tank off and then fishing the wire bundles through the new bars and into the frame. Those odd rubber grommits near the neck are a bear to get even a small bundle through. But with a little persistence, it isn't too bad.
After getting the wires in the right vicinity, CAREFULLY put the connectors back together making sure to get the right sockets in the right slots and just as important, the correct wire sets with the right connector.
|
|
|
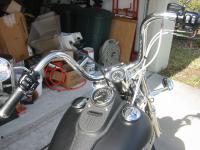
A bad picture of the finished product. Don't worry, I have plenty more (bad ones, that is).
|
Finished
|
|
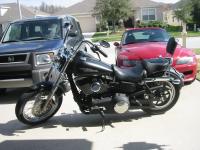
Not washed, but still cool
|
Despite the pillion and sissy bar, that is still a sharp looking bike. The new curve-hugging license mount helps keep it looking neat. The fatter bars are more impressive in person.
|
|
|
I should have gotten a better shot of the new riser clamps, but you can see how much neater everything looks without those wire looms. The "fatness" of the new bars is pretty clear here as well.
|
New bars
|
|
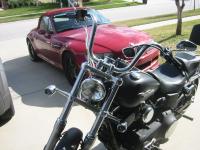
One last shot
|
Ignore the dirty car.
|
|