|
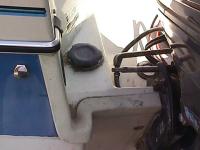
This is the old cap.
|
This was very grimy and I did not trust it.
|
|
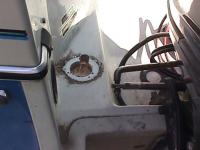
Old cap has been romoved and the new hole(s) have been drilled.
The new hole was 1/8 inch larger than the old hole and was a bit tricky to drill out. The now vent is a 3/4 inch hole and is joined with the filler also.
|
Old cap has been romoved.
|
|
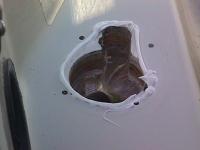
Cleaning up and sealing.
|
I cleaned up the mess with comet and a green pad. Then I used a small amout of BoatingLife sealer to be sure water does not get under the new filler.
|
|
|
I installed the cap with 4 new screws and had to wipe the ooze from around the new cap.
|
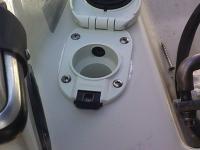
New cap secured.
|
|

New cap installation.
|
Cap is finisish now just need to hook up the hoses.
In the future the cap will be moved higher in the boat. I was informed that this is not a good place for the cap.
|
|
I got this from Phils prop shop. the props are hard to find for the single exhaust as the props fit but they are not cross referenced.
The neat thing is the prop is for an OMC but since the hub is the same for all engines I just needed a prop that fit and a new thrust washer. The washer allows the edges to clear the houseing.
It works very well I might add!
|
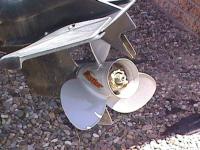
A hustler prop for the old Force engine
|
|

(Insert New Caption)
|
(Insert New Description)
|
|