|
|
 |
|
| home |
| |
shopping |
| |
contact |
| |
projects |
| |
Warning: Undefined array key "session_logged_in" in /home2/sap/public_html/header.php on line 612
login | | | join |
|
|
|
|
Rebuild Phase
|
 |
|
|
|
|
|
|
|
|
|
|
|
The install begins!
|
|
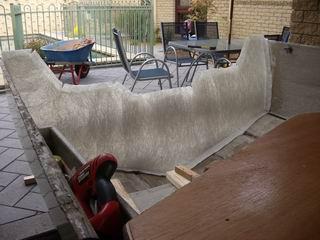
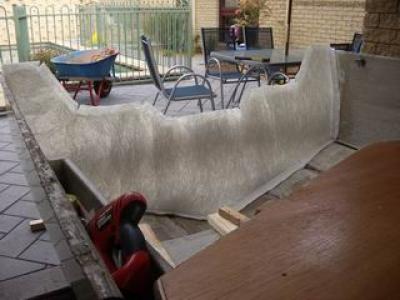
With the dry fitting completed it's time to install the transom. To get an idea of what's involved with this you need to remember that the weather is getting hotter and that resin (depending on the ration of catalyst used) can start to go off in 15 minutes. This means you have to be ORGANISED, plan everything, do a 'dry run' and not discover any surprises halfway through or you're stuffed. You need to make the right amount of resin up as there is no time to duck off and brew another pot and theres certainly no toilet, beer or other breaks until afterwards.
In preparation I cut two sheets of glass mat with excess at the sides the thickness of the transom. This mat goes between the transom and the back skin as well as under the bottom and sides of the transom. When installing a transom you CANNOT have any voids, gaps or air holes anywhere which means the transom has to be clamped in at the top, middle and bottom. Along the top I used 8 x clamps with pieces of scrap timber to spread the compression over a wider area. In the middle I screwed two pieces of timber into the existing holes (motor, tow hook and drain) in the transom skin (the holes haven't been drilled in the transom timber yet but the old holes are still in the transom skin). Along the bottom I braced the transom in using pieces of timber cut at angles to act as a wedge.
Before I started I taped up all the transom skin holes with masking tape. I then did a dry run which might sound dumb but as I mentioned, you have no time for things to go wrong. As it turns out the dry run revealed my clamps were not properly adjusted to the right width and my battery drill has a low battery (this would have been a disaster) and I'd misplaced my hammer which I needed for wedbing in the braces.
With everything ready and the two sheets of mat in place I brewed a full pot of resin. I did not kick it too hot as I wanted to buy myself as miuch time as possible plus it was a hot day (which makes resin go off faster). I peeled back the mat sheets half way on one side and wet the inner transom skin. I then laid one mat sheet down and wet it through. I laid th sedond sheet on top of the alrady wet sheet and ran the radius roller over it before shifting to the other side.
|
|
|
|
|
|
|
|
|
All projects on Shareaproject.com are user-submitted and should be used for reference information only. The projects are not intended to be complete "How-To" articles. Use the information contained in these projects at your own risk. Projects are not checked for completion, accuracy, or safety and therefore cannot be guaranteed in any way.
Outdoor Blog
|