|
|
 |
|
| home |
| |
shopping |
| |
contact |
| |
projects |
| |
Warning: Undefined array key "session_logged_in" in /home2/sap/public_html/header.php on line 612
login | | | join |
|
|
|
|
Rebuild Phase
|
 |
|
|
|
|
|
|
|
|
|
|
|
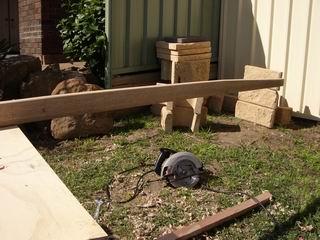
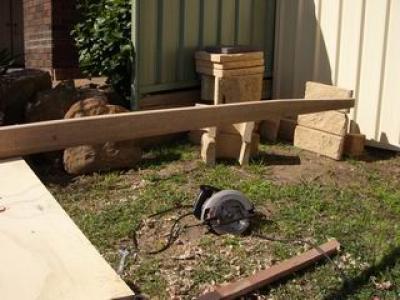
Starting work on the keel stringer
|
|
Due to Rugby commitments and the wife being crook I didn't get much done at all on the weekend.
On the keel stringer I went to the timberyard and picked up the raw material for the keel stringer and the back sections of the other stringers I have removed. I was a bit disappointed that the keel was in two pieces not one as I asked for but that's life. Just means I need to fashion a strong joint.
I have fashioned the underside of the back half of the keel stringer. There is no easy way to do this other than plane a bit, dry fit it, get on your hands and knees & look at the underside, mark where the gaps are and plane the high points appropriately. Any voids shouldn't be too much of a problem as the soaked mat will take up most of the space and any gaps can easily be filled with resin as the keel stringer is at the bottom of the 'V' and gravity will be my friend.
The front half of the keel stringer will be much more time consuming to make as the keel curves upwards towards the bow.
|
|
|
|
|
|
|
|
|
All projects on Shareaproject.com are user-submitted and should be used for reference information only. The projects are not intended to be complete "How-To" articles. Use the information contained in these projects at your own risk. Projects are not checked for completion, accuracy, or safety and therefore cannot be guaranteed in any way.
Outdoor Blog
|