|
|
 |
|
| home |
| |
shopping |
| |
contact |
| |
projects |
| |
Warning: Undefined array key "session_logged_in" in /home2/sap/public_html/header.php on line 612
login | | | join |
|
|
|
|
Engine tear down, reassembly and tuning
|
 |
|
|
|
|
|
|
|
|
|
|
|
Install the cylinder head
|
|
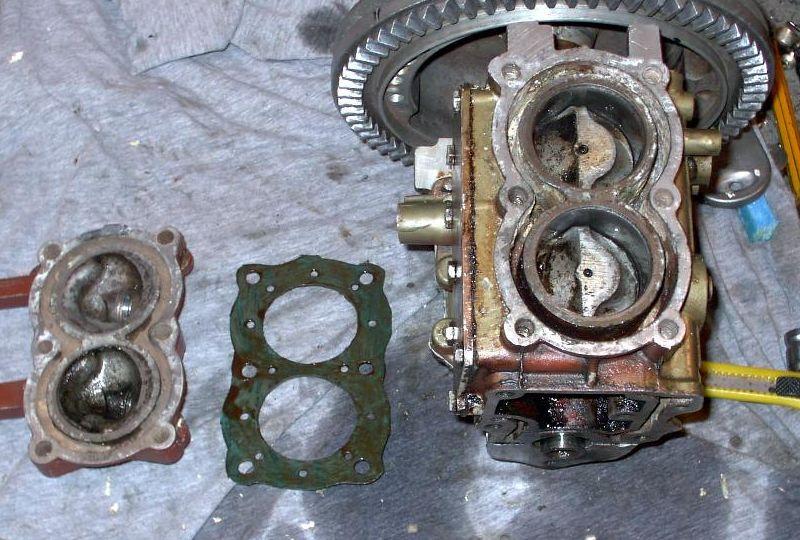
Shown here is the second experimental head gasket, the head and the block. Before installation, the head should be checked for flatness by using a straight edge and holding it up to the light. If the head is bent, and it often is, it will need to be lapped flat.
Lapping is a pretty simple task. Lay a soaked sheet of sandpaper, around 220 or 320 grit, and lay it on a flat surface. Ideally you would use a surface plate, but since most don't have one handy you can also use a piece of plate glass 1/4" or thicker. Lay the head onto the sandpaper and move it in a figure 8 pattern, carefully applying even pressure to the head. Lap until all the high spots that are revealed are flush with the low spots.
After that, install the gasket and head. If the gasket is shiny, do not use any gasket sealer. If it is not, use a drying gasket sealer. But do not use an automotive copper bearing head gasket sealer. Be very careful to get the head gasket oriented correctly. It is very close to being symmetrical, so it's easy to flip it the wrong way around. But it is just slightly different and doesn't quite fit that way. The tab sticking out of the head gasket should be at the top, and slightly to the right. Flip the gasket over a couple times and you'll see what I mean.
Torque the head the same as the crankcase; in three rounds to 70 inch/lbs. Start with the two middle bolts and work your way in an "ironing" pattern to the outer two bolts.
Here's a little information on the reason I've got a hand cut head gasket there. I previously had the Sierra aftermarket head gasket 18-3841-2, and had noticed that my compression dropped about 10psi with it. Performance suffered too. When I compared the old, stock head gasket to the Sierra one, I found the Sierra one to be much thicker. The old stock one was about .062" (.042" compressed) thick, while the Sierra one was .073" (.055" compressed). The one I made was .045 which was probably too thin anyway. When I get a new, OEM head gasket 203130 I'll update this page with it's thickness.
UPDATE: I have not yet gotten an OEM head gasket, but the new green Sierra gaskets seem to be about the right size as opposed to the old white ones. The green ones measure about .060 uncompressed.
|
|
|
|
|
|
|
|
|
All projects on Shareaproject.com are user-submitted and should be used for reference information only. The projects are not intended to be complete "How-To" articles. Use the information contained in these projects at your own risk. Projects are not checked for completion, accuracy, or safety and therefore cannot be guaranteed in any way.
Outdoor Blog
|