|
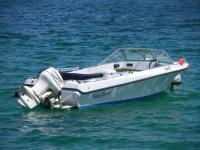
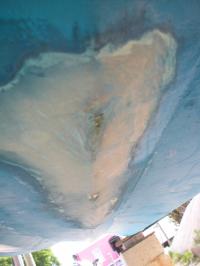
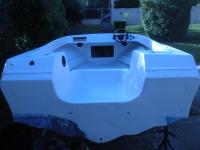
She looked ok at the beginning
|
Before she went down...
|
|
|
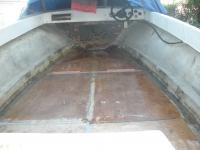
Started gutting her as everything was pretty much wrecked...
|
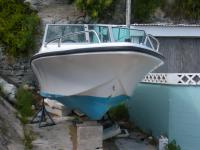
On blocks to perform the transfermation
|
|
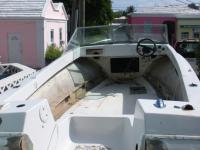
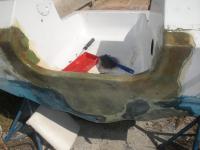
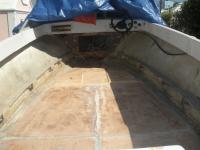
Gutted and ready for a work up...
|
Seats out, motor off, it had crappy vinal on the inside walls which i ripped off, electrics out...found a few soft spots in the floor which i had to fix up...
|
|
|
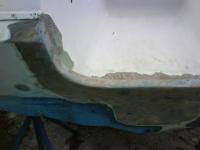
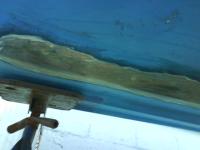
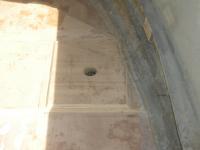
Discovered some dodgy filler work on some cracks (should I say gorges) on the transom which needed some attention...
|
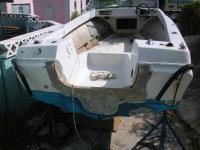
Grinded and cleaned up the transom
|
|
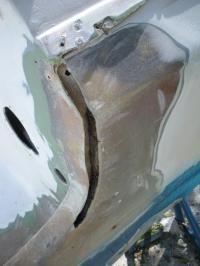
The right Gorge...
|
It looked like the previous owner just put some filler in there....i grinded it all away to do a proper job. The transom wood underneath looked ok.
|
|
|
(Insert New Description)
|

The left Gorge...
|
|
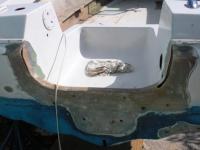
Close up of the Gorges...
|
(Insert New Description)
|
|
|
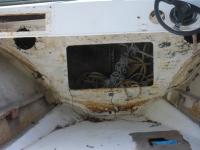
This is where I found the crappy vinal and ripped it off...there were side rails too covered with vinal which had caused the wood to rott.
|

The inside walls
|
|

Another wall
|
(Insert New Description)
|
|
Pulled off some speakers too which were goooonnneee!!!!
U can see one of the soft spots (well hole) in the floor where the previous owner just did a patch job, which i ripped off...man what a lemom...should have seen that...
|
Hatch at the front...more crap vinal
|
|
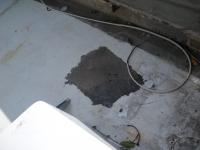
Another soft spot
|
Just had a bit of fibre glass over the spot...lifted off real easy
|
|
|
A whole in the bottom the culprit for it going down...
|
it keeps getting worse and worse...
|
|
Now for the fix up
|
For the gorges i used some foam filler to get into the gaps in the transom, then some epoxy filler to get the rounded shape back into the transom.
|
|
|
(Insert New Description)
|
The other side
|
|
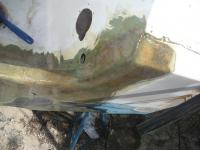
Getting there
|
Found some other suspect areas at the bottom right of the photo which also needed attention
|
|
|
After filling the hole on the bottom I epoxied the hell out of it...(was my first real glassing work...so boy did i have some fun....nothing like learning the hard way...)
|
Fixing the holes
|
|
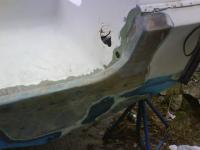
Now the transom
|
Epoxied and glassed the transom, i think like 4-5 coats with 3 layers of chopped stand mat and a layer of the mesh finishing mat. Feels like a lot of strength in there now...
|
|
|
(Insert New Description)
|
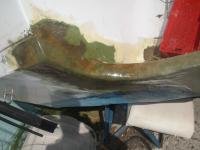
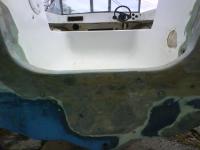
No more Gorges...
|
|
No more Gorges....
|
(Insert New Description)
|
|
|
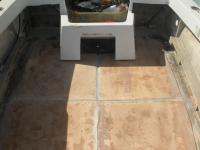
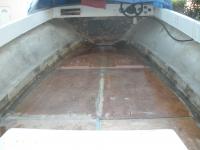
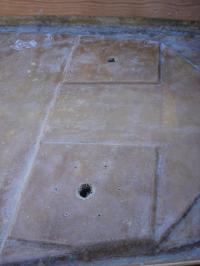
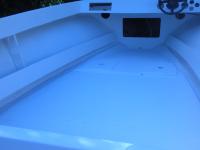
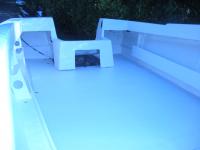
Cut out the bad spots, rest of the floor was still in good nick so just laid down 1/2" ply over the top and put some extra support down for captain chairs
|
New Floor....
|
|

Xtra support for captain chairs...
|
2 extra layers of 1/2" ply
|
|
|
Tnuts used on the bottom of the floor to hold the captain chairs
|
bevelled edges for each layer for a better look
|
|
A mate helping got the bevelled edges wrong so filler used to fill the gaps..
|
Cheers Chris....
|
|
|
Fibreglass is nasty stuff....
|
The glassing begins...
|
|
More to come...
|
Putting a bench seat at the back also held down with tnuts...
|
|
|
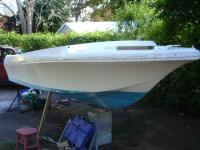
hopefully getting closer to the finish...the ? is the engine...
|
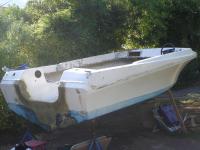
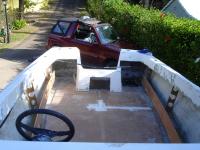
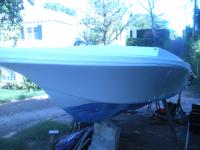
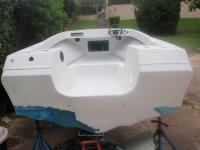
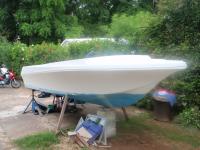
Getting ready to sand and paint...all trimmings taken off
|
|
A lot of sanding ahead...
|
Its starting to warm so need to get all the hard yacker work done quickly before the heat is unbearable...
|
|
|
Still have a few trimmings to take off, need to drill out the bolts as they don't budge plus the are in very tight spots...
|
windscreen off
|
|

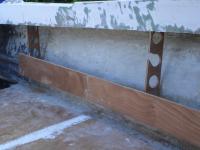
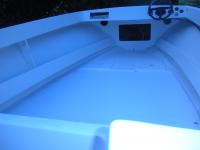
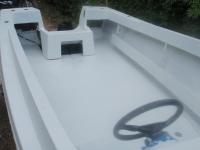
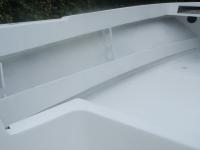
Side rails on with makeshift rod racks inplace...
|
Need to fill an uneven part of the floor where the joint was, thats the white expoxy patching at the bottom.
|
|
|
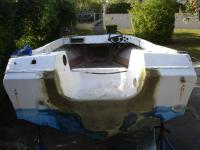
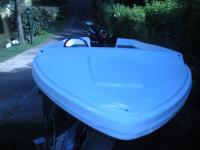
Still a lot of work ahead...
|
Backward look
|
|
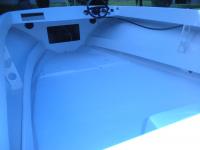
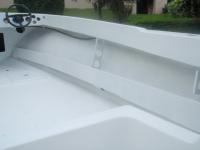
Side rails and rod rack
|
Going to glass these in to add strength...
|
|
|
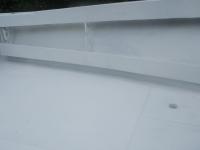
put some strategic holes in the side rails for water to escape
|
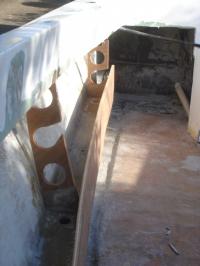
Different view of side rails and rod racks...
|
|
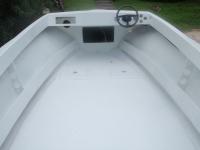
Captain chair supports glassed in
|
Hopefully enough strength there to support the captain chairs..
|
|
|
(Insert New Description)
|
(Insert New Caption)
|
|
(Insert New Caption)
|
(Insert New Description)
|
|
|
(Insert New Description)
|
(Insert New Caption)
|
|
(Insert New Caption)
|
(Insert New Description)
|
|
|
(Insert New Description)
|
(Insert New Caption)
|
|
(Insert New Caption)
|
(Insert New Description)
|
|
|
(Insert New Description)
|
(Insert New Caption)
|
|

(Insert New Caption)
|
(Insert New Description)
|
|
|
(Insert New Description)
|
(Insert New Caption)
|
|
(Insert New Caption)
|
(Insert New Description)
|
|
|
(Insert New Description)
|
(Insert New Caption)
|
|
(Insert New Caption)
|
(Insert New Description)
|
|
|
(Insert New Description)
|
(Insert New Caption)
|
|
(Insert New Caption)
|
(Insert New Description)
|
|
|
(Insert New Description)
|
(Insert New Caption)
|
|

(Insert New Caption)
|
(Insert New Description)
|
|