|
Done!
|
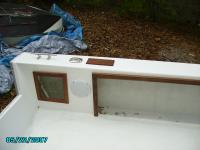
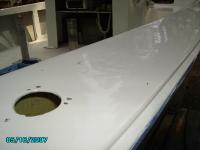
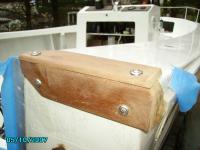
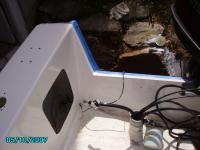
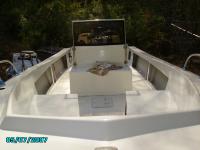
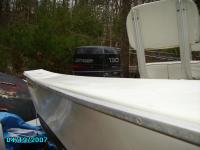
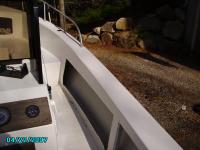
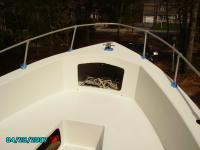
I made this teak trim pieces for these openings, previously there was nothing there. Had the idea to put the netting in there, really helps keep stuff from flying out at high speeds.
|
|
|
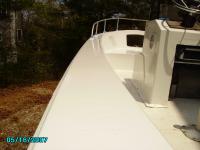
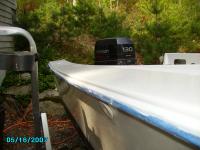
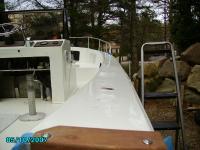
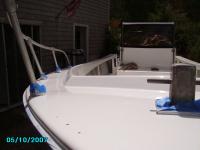
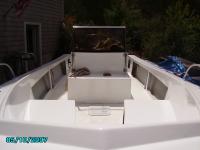
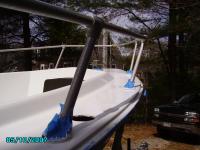
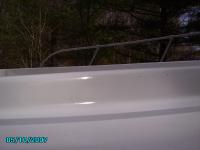
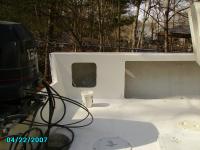
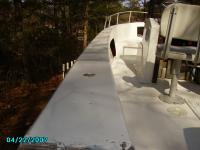
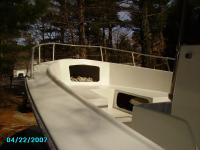
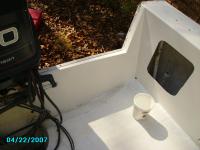
Very Pleased with how it came out. A couple of blemishes of course but overall very happy. I just hosed it down so you can't really see the shine it has.
|
Done!
|
|
Done!
|
Very Pleased with how it came out. A couple of blemishes of course but overall very happy. I just hosed it down so you can't really see the shine it has.
|
|
|
Very Pleased with how it came out. A couple of blemishes of course but overall very happy. I just hosed it down so you can't really see the shine it has.
|
Done!
|
|
Done!
|
Very Pleased with how it came out. A couple of blemishes of course but overall very happy. I just hosed it down so you can't really see the shine it has.
|
|
|
I'll post better pictures, these have stuff all over the deck!
|
Deck Painted!
|
|

Deck Painted!
|
(Insert New Description)
|
|
|
(Insert New Description)
|
Prepping for the Interdeck
|
|
Prepping for the Interdeck
|
(Insert New Description)
|
|
|
(Insert New Description)
|
Prepping for the Interdeck
|
|
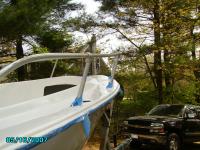
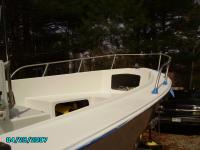
Underway making way
|
Got her underway today, just went over to the lake. It was great. Will look much better when I paint the deck.
|
|
|
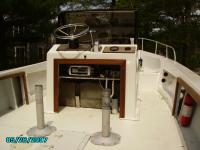
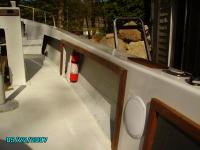
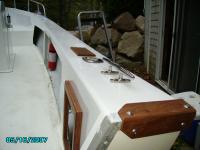
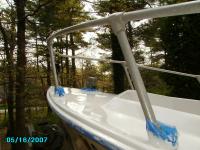
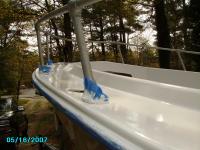
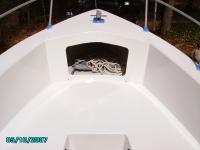
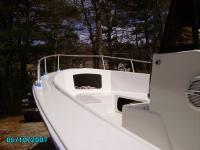
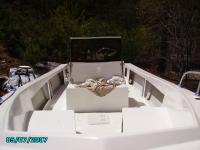
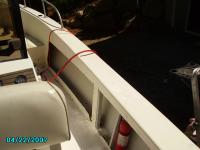
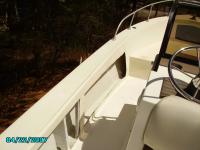
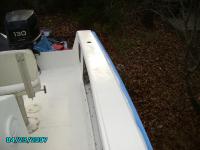
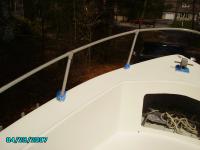
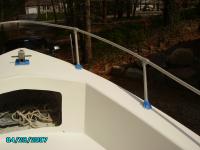
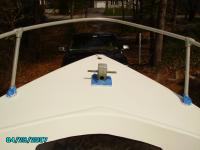
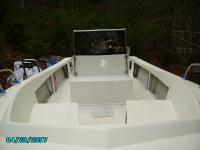
New teak trim around the center console, came out great I think.
|
Putting hardware and new teak back on
|
|
Putting hardware and new teak back on
|
(Insert New Description)
|
|
|
(Insert New Description)
|
Putting hardware and new teak back on
|
|
Putting hardware and new teak back on
|
Got to admit, I was pretty psyched when I put on the rod holders, which I painted over 2 months ago!
|
|
|
(Insert New Description)
|
Putting hardware and new teak back on
|
|
Putting hardware and new teak back on
|
(Insert New Description)
|
|
|
To Interdeck or not to Interdeck?
|
Non-Skid Deck
|
|

Putting hardware and new teak back on
|
(Insert New Description)
|
|
|
(Insert New Description)
|

Putting hardware back on
|
|
Putting hardware back on
|
(Insert New Description)
|
|
|
(Insert New Description)
|
Putting hardware back on
|
|

Putting hardware back on
|
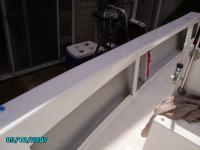
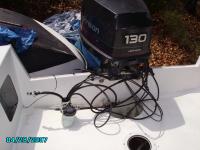
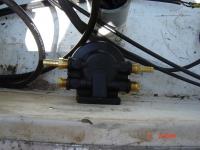
polished all stainless steel before mounting.
|
|
|
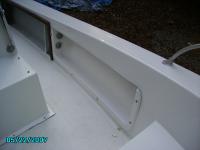
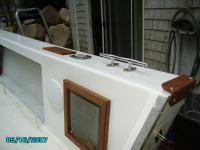
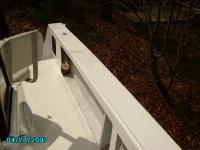
This is a new piece that I cut. I decided to screw it from the back so it looks cleaner. It was a little bit more work, but I think it was worth it.
|
Putting new teak on
|
|

Before PIC
|
(Insert New Description)
|
|
|
(Insert New Description)
|
3rd coat of Brightsides
|
|
3rd coat of Brightsides
|
(Insert New Description)
|
|
|
(Insert New Description)
|

3rd coat of Brightsides
|
|
3rd coat of Brightsides
|
(Insert New Description)
|
|
|
(Insert New Description)
|
3rd coat of Brightsides
|
|
3rd coat of Brightsides - Bugs!
|
notice the bugs!!!!
|
|
|
(Insert New Description)
|
3rd coat of Brightsides
|
|
3rd coat of Brightsides
|
(Insert New Description)
|
|
|
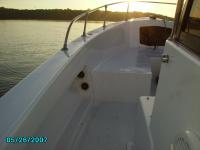
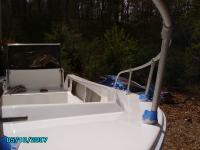
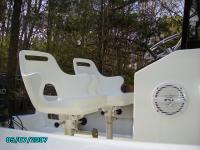
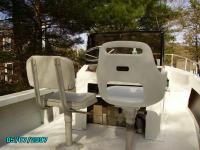
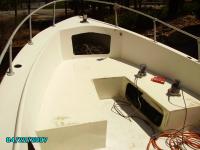
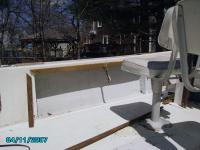
Well, weather has not been helping to get the final coat on the deck, so I am working on other things. Got the batteries installed today and fired up the engine, ran great!!!! So here are the seats with cushions (well one of them-I did both).
|
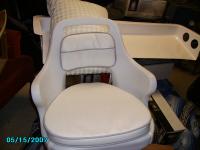
Seats covered
|
|
First new teak on
|
Put on the new teak on the starboard side aft. Wanted to fit it right, as it needed some sanding of the edges. Try finding something plumb on an old boat! I'll take them both off, resand and oil.
|
|
|
(Insert New Description)
|
(Insert New Caption)
|
|
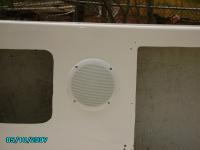
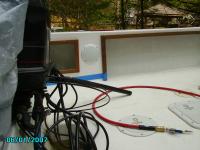
New Speakers
|
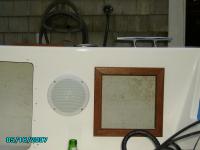
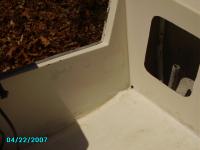
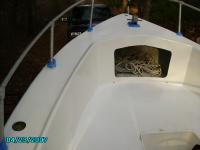
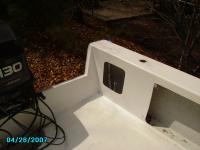
Did the first cutout for the new speakers. I have 2 in the console and I am psyched for these, to have 4. If you see the dirt, scratches, etc around the speakers, that is EXACTLY why I did it now, so the final coat will hide all that. I snaked the speaker wires last week. When we rebuilt the deck, we put sched 40 PVC from every possible opening, very glad we did, thanks John. They will be removed, obviously. If your wondering, all of those holes will be covered by the new teak trim. In hindsight though, I should have filled those.
|
|
|
(Insert New Description)
|
Second Coat of Brightsides
|
|
Second Coat of Brightsides
|
(Insert New Description)
|
|
|
(Insert New Description)
|
Second Coat of Brightsides
|
|
Second Coat of Brightsides
|
(Insert New Description)
|
|
|
(Insert New Description)
|
Second Coat of Brightsides
|
|
Second Coat of Brightsides
|
(Insert New Description)
|
|
|
(Insert New Description)
|
Second Coat of Brightsides
|
|
Second Coat of Brightsides
|
(Insert New Description)
|
|
|
a little different.
|
The port side - 2 years ago
|
|
Second Coat of Brightsides
|
Had to move the boat to the other side of the driveway, had a pine tree pissing me off. Still had some stuff flying, but I think most of it hit after it had started drying. Wish I had an indoor place!
|
|
|
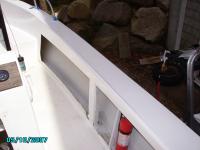
Found this this morning. Mixed up some more putty and fixed it.
|
(Insert New Caption)
|
|
First Coat of Brightsides
|
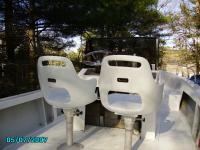
Love the new seats, had to do a little modifying as my pedestal was actually 2.5" OD and the Spiders are 2 7/8" OD. I ended up cutting the previous seat base and using it as a bushing, worked great.
|
|
|
(Insert New Description)
|
First Coat of Brightsides
|
|
First Coat of Brightsides
|
(Insert New Description)
|
|
|
new seat vs. old seat
|
New Seats measured, installed..
|
|
First coat of Brightsides
|
Weather is finally cooperating. The following are pics after the first topcoat, thinned 10%. Missed some spots in the sun! Will get them next time.
|
|
|
(Insert New Description)
|
First Coat of Brightsides
|
|
First Coat of Brightsides
|
(Insert New Description)
|
|
|
(Insert New Description)
|
First Coat of Brightsides
|
|

First Coat of Brightsides
|
(Insert New Description)
|
|
|
(Insert New Description)
|
First Coat of Brightsides
|
|
First Coat of Brightsides
|
(Insert New Description)
|
|
|
(Insert New Description)
|
First Coat of Brightsides
|
|
Before
|
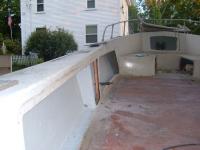
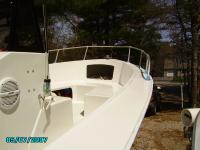
This is what it looked like before. I have all new teak trim for this opening and others that I have ripped and cut, and ready to go.
|
|
|
(Insert New Description)
|
(Insert New Caption)
|
|
(Insert New Caption)
|
(Insert New Description)
|
|
|
Removing hardware and beginning stages of sanding, using 150 grit in a Random Orbital.
|
Prepping begins
|
|
(Insert New Caption)
|
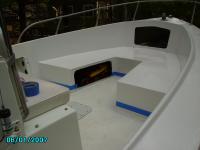
Kind of a gap in between pictures here but I removed about 26 SNAPS that were there for a bimini at one time. Filled all holes with marine putty and then feathered with 150, then 220. Already a noticeable difference to me.
|
|
|
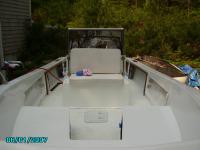
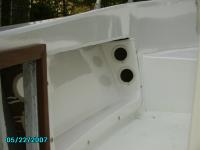
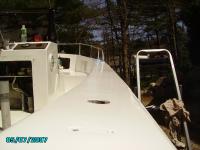
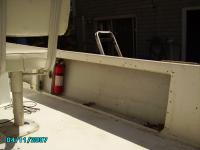
cleats and rod holders removed. Will keep those holes open because I have metal backing plates underneath for strength. Notice the transom, 2 rings that were there from a kicker motor long ago.
|
Port side aft
|
|
Stbd side looking forward
|
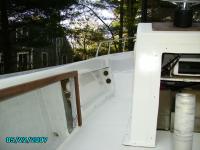
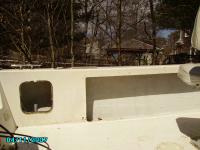
the front opening is for the rod racks which I removed for repaint.
|
|
|
In the workshop. 2 coats of Pre-Kote and 2 finish coats of Brightsides. I may attempt to spray on one more top coat.
|

Rod Racks
|
|
(Insert New Caption)
|
(Insert New Description)
|
|
|
(Insert New Description)
|
(Insert New Caption)
|
|
(Insert New Caption)
|
(Insert New Description)
|
|
|
(Insert New Description)
|

(Insert New Caption)
|
|
(Insert New Caption)
|
(Insert New Description)
|
|
|
(Insert New Description)
|
(Insert New Caption)
|
|
(Insert New Caption)
|
(Insert New Description)
|
|
|
(Insert New Description)
|
(Insert New Caption)
|
|
(Insert New Caption)
|
(Insert New Description)
|
|
|
(Insert New Description)
|
(Insert New Caption)
|
|
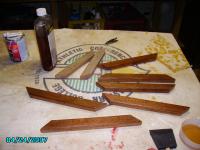
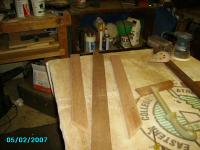
Teak trim
|
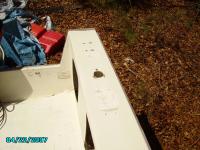
Measuring out the teak trim. I still have to measure cut and rip for the other openings but I need to take advantage of this weather first, I can do the rest in the workshop.
|
|
|
First coat of primer done, time to sand and apply a second coat of primer and repeat it all again.
|

First coat of primer done
|
|
Sanding First coat
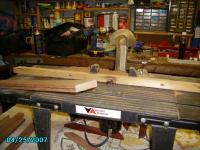
|
Had a chance to do a little of the second coat of primer before I lost daylight, so in to the workshop to do some more teak.
|
|
|
(Insert New Description)
|
(Insert New Caption)
|
|
(Insert New Caption)
|
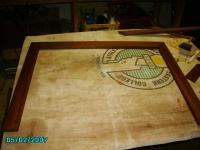
This is the trim for the 2 openings back aft. I left a couple of old pieces there to show what it looked like before. My uncle was kind enough to give me this teak so I wanted to show it to him as well.
|
|
|
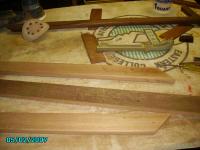
Weather is too cold to paint, so I might as well take advantage of time in the shop. These are for the large openings back aft.
|
More Teak Trim
|
|
Priming Done!
|
3rd and last coat of primer done, ready for topcoating. Will sand with 150, then 220, then Interlux Brightsides!
|
|
|
(Insert New Description)
|
(Insert New Caption)
|
|
(Insert New Caption)
|
(Insert New Description)
|
|
|
(Insert New Description)
|
(Insert New Caption)
|
|
(Insert New Caption)
|
(Insert New Description)
|
|
|
(Insert New Description)
|
(Insert New Caption)
|
|
(Insert New Caption)
|
(Insert New Description)
|
|
|
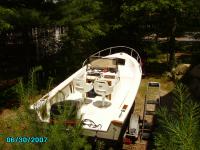
Found this old pic of the transom
|
(Insert New Caption)
|
|
(Insert New Caption)
|
(Insert New Description)
|
|
|
(Insert New Description)
|
(Insert New Caption)
|
|
(Insert New Caption)
|
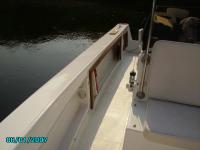
I wish I had taken a picture like this before...
|
|
|
(Insert New Description)
|
(Insert New Caption)
|
|
Teak redone
|
trim around center console
|
|
|
(Insert New Description)
|

(Insert New Caption)
|
|
(Insert New Caption)
|
(Insert New Description)
|
|