|
(Insert New Caption)
|
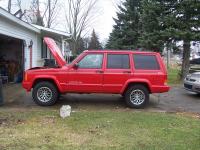
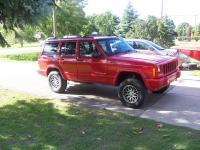
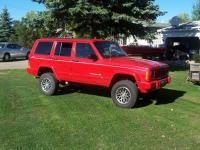
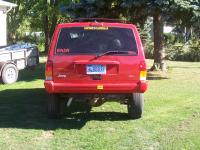
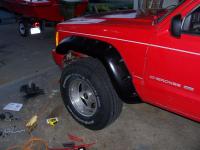
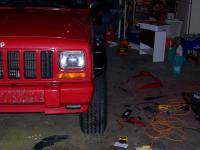
Jeep before any changes
|
|
|
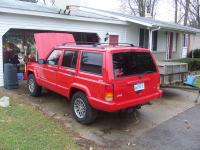
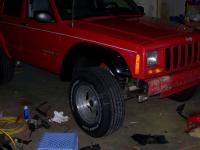
Another shot of jeep before change
|
(Insert New Caption)
|
|
(Insert New Caption)
|
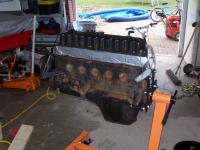
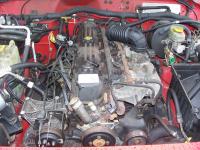
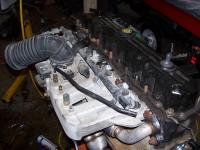
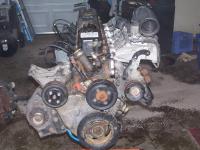
Used 1998 4.0 Jeep motor
|
|
|
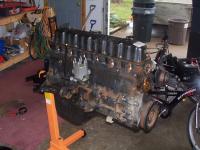
Another shot of engine
|
(Insert New Caption)
|
|
(Insert New Caption)
|
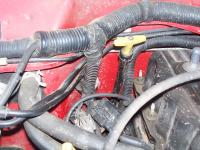
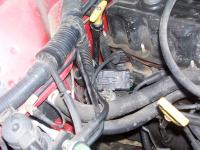
Start to remove wire harness, radaitor, and all engine mounts to pull motor.
|
|
|
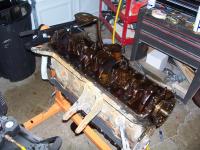
Oil pan and timing cover removed.
|
(Insert New Caption)
|
|
(Insert New Caption)
|
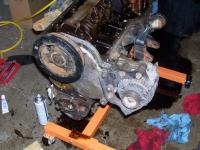
Timing cover and alternator reinstalled.
|
|
|
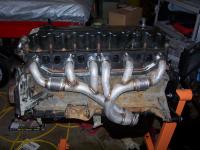
New exhaust manifold installed
|
(Insert New Caption)
|
|
(Insert New Caption)
|
Intake manifold
|
|
|
Engine ready to go back into jeep.
|
(Insert New Caption)
|
|
(Insert New Caption)
|
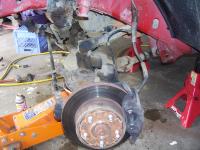
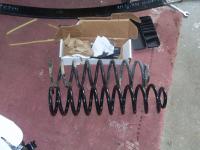
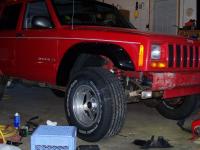
Adding a 3" lift kit by Rough Country. New front coil springs, lower control arms, track bar relocation bracket, new shocks, and Pro Comp 3.5 leaf packs.
|
|
|
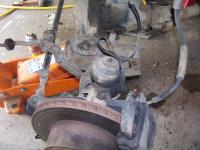
Started by removing shocks, lower control arms, and sway bar links.
|
(Insert New Caption)
|
|
(Insert New Caption)
|
New spring are only a couple of inches longer but dont compress as much as the old springs.
|
|
|
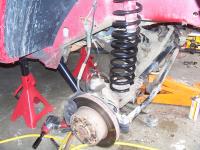
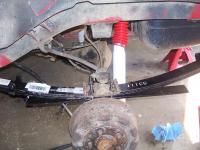
New lower control arm and spring installed.
|
(Insert New Caption)
|
|

(Insert New Caption)
|
Otherside spring and control arm.
|
|
|
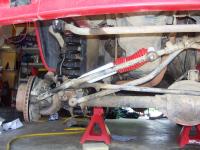
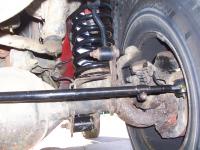
New steering stabilizer installed.
|
(Insert New Caption)
|
|
(Insert New Caption)
|
Broke one of the sway bar links so I installed new ones on both sides.
|
|
|
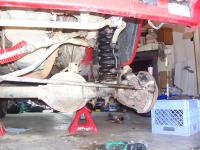
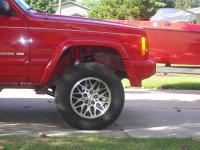
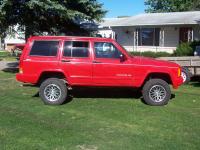
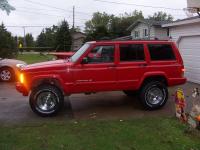
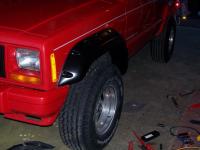
Picture of Jeep with front lift finished.
|
(Insert New Caption)
|
|
(Insert New Caption)
|
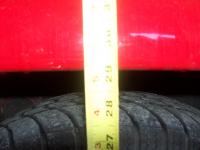
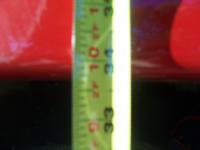
From ground to top of fender trim is 34 inches.
|
|
|
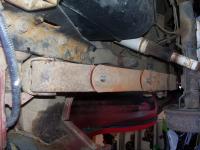
The back springs are shot, jeep had major sag.
|
(Insert New Caption)
|
|
(Insert New Caption)
|
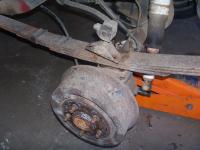
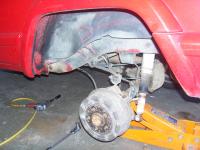
Started removing old spring.
|
|
|
First spring came out easy, the other gave me a lot of problems. ended up grinding the bolts off.
|
(Insert New Caption)
|
|
(Insert New Caption)
|
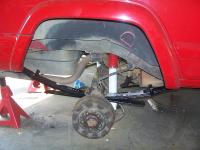
After about 3 hours I had both leaf springs off and every thing ready to install the new ones.
|
|
|
New springs havent arrived yet so I block up the axle and had to wait a few days.
|

(Insert New Caption)
|
|
(Insert New Caption)
|
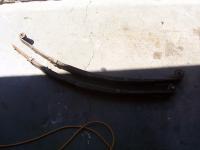
Old springs heading to the junk.
|
|
|
New springs finally showed up, for the most part they bolted right into place.
|
(Insert New Caption)
|
|
(Insert New Caption)
|
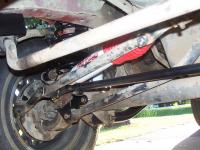
New U bolts and shocks installed.
|
|
|
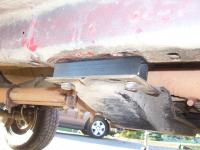
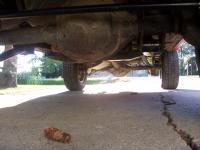
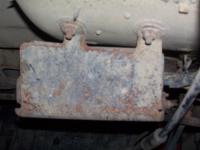
First test drive I was getting some vibration in the back. I read about lowering your transfer case to level out the drive shaft. Most of these drop kits are nothing more then a spacer and longer bolts. A local steel shop gave me a piece of 1 1/4 square tubing and a stop at the hardware for longer bolts I had my T-drop for about 4 bucks.
|
(Insert New Caption)
|
|
(Insert New Caption)
|
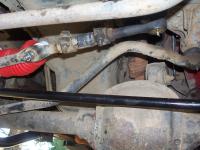
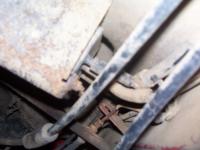
Since you need to get a front end alignment after installing the kit I decided to replace the tie rod ends. All three tie rods ran me about 40 bucks new on ebay.
|
|
|
The only one I didnt replace was the long tie rod on the passenger side.
|
(Insert New Caption)
|
|
(Insert New Caption)
|
|
|
|
|
(Insert New Caption)
|
|
(Insert New Caption)
|
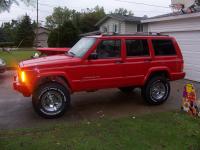
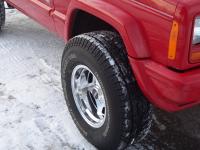
Came out good, picture of Jeep with everything installed.
|
|
|
Ready for bigger tires.
|
(Insert New Caption)
|
|
(Insert New Caption)
|
|
|
|
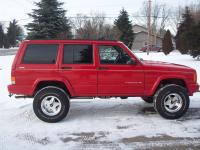
The new leafs brought the back up to 36 inches. After some driving it leveled out to 34.
|
(Insert New Caption)
|
|
(Insert New Caption)
|
(Insert New Description)
|
|
|
(Insert New Description)
|
(Insert New Caption)
|
|
(Insert New Caption)
|
(Insert New Description)
|
|
|
(Insert New Description)
|
(Insert New Caption)
|
|
(Insert New Caption)
|
(Insert New Description)
|
|
|
(Insert New Description)
|
(Insert New Caption)
|
|
(Insert New Caption)
|
(Insert New Description)
|
|
|
(Insert New Description)
|
(Insert New Caption)
|
|
(Insert New Caption)
|
(Insert New Description)
|
|
|
(Insert New Description)
|
(Insert New Caption)
|
|
(Insert New Caption)
|
(Insert New Description)
|
|
|
(Insert New Description)
|
(Insert New Caption)
|
|
(Insert New Caption)
|
(Insert New Description)
|
|
|
(Insert New Description)
|
(Insert New Caption)
|
|
(Insert New Caption)
|
(Insert New Description)
|
|