|
(Insert New Caption)
|
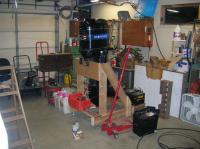
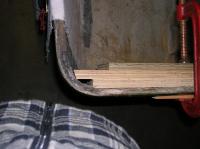
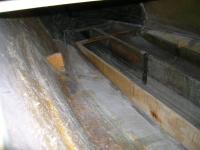
Rub rail & motor removed. Had someone run a heat gun about a foot ahead of me as i pulled the rubber out of the track.
|
|
|
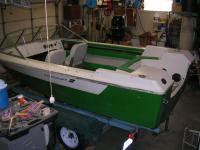
1978 1150 Mercury.
|
(Insert New Caption)
|
|
(Insert New Caption)
|
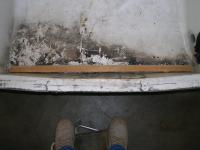
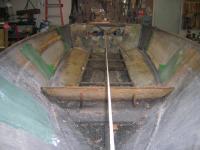
Transom bow.
|
|
|
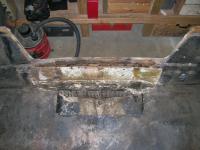
More transom bow with deck removed.
|
(Insert New Caption)
|
|
(Insert New Caption)
|
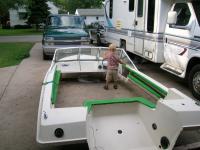
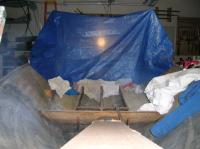
A future captin at the helm.
|
|
|
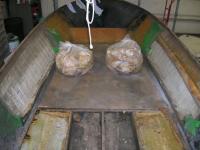
Removed part of floor & wet foam.
|
(Insert New Caption)
|
|
(Insert New Caption)
|
Chipped out a total of 80lbs of wet foam.
|
|
|
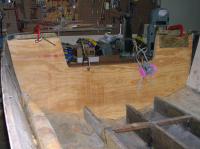
Test fitted two 3/4" ply's.
|
(Insert New Caption)
|
|
(Insert New Caption)
|
Would later fill the corners with scrap plywood strips & a peanut butter mix of epoxy.
|
|
|
Top secret transom work. Actually just a heat bubble. Was in the middle of winter.
|
(Insert New Caption)
|
|
(Insert New Caption)
|
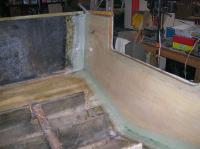
New transom core glassed in. Used 6 oz. cloth between 1st ply and transom skin. Bonded ply to ply with thickened epoxy. Went over face of inside ply with 9 oz. cloth, 12 oz. biaxial & one more 9 oz. cloth. Tabbed it all in over fillets with three staggered layers of 15 oz. biaxial tape.
|
|
|
Removed 1st stringer & front kick board.
|
(Insert New Caption)
|
|
(Insert New Caption)
|
Test fitted new 3/4" plywood stringer.
|
|
|
Three layers of cloth ready for epoxy. Went with 9 oz. cloth, 15- oz. woven roven & one more 9 oz. cloth.
|
(Insert New Caption)
|
|
(Insert New Caption)
|
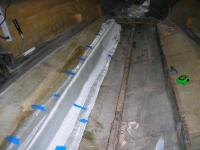
1st stringer glassed in.
|
|
|
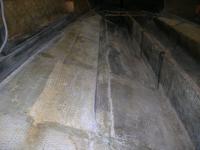
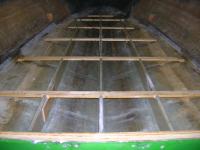
Stringers completed.
|
(Insert New Caption)
|
|
(Insert New Caption)
|
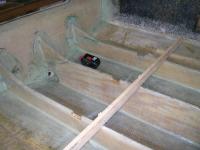
Floor cross boards in & butt blocks added to my questionable stringer joints.
|
|
|
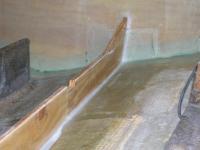
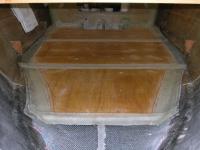
Floor cut out & test fitted. Beveled ply edges that would later be taped.
|

(Insert New Caption)
|
|
(Insert New Caption)
|
Floor laid in on top of peanut buttered stringers & cross supports. Also screwed it down to cross supports.Tabbed floor in with 15 oz. tape. Had to destroy old front drain screen. Replaced it with galvanized metal lath.
|
|
|
Front screen tabbed in & layer of 9 oz. cloth added over floor.
|

(Insert New Caption)
|
|

(Insert New Caption)
|
Deck back on. Added new lounge seats & carpet.
|
|
|
Boat is structurally finished. Hope to get to the cosmetics sometime down the road.
|

(Insert New Caption)
|
|