|
|
 |
|
| home |
| |
shopping |
| |
contact |
| |
projects |
| |
Warning: Undefined array key "session_logged_in" in /home2/sap/public_html/header.php on line 612
login | | | join |
|
|
|
|
Gulfstream
|
 |
|
|
|
|
|
|
|
|
|
|
|
(Insert New Caption)
|

|
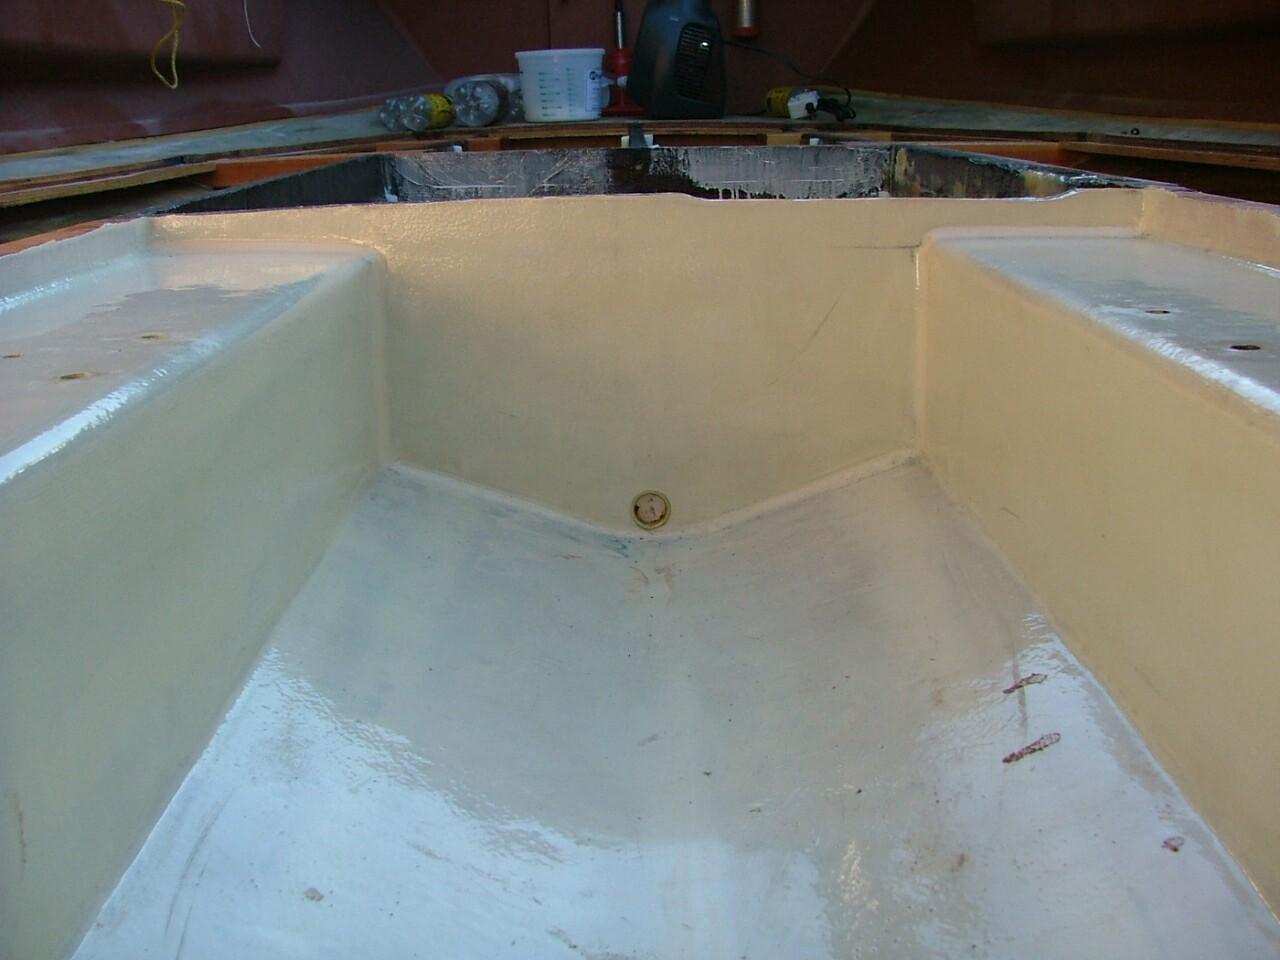
The reconstructed bilge/mount bay has now been reglassed with two layers of glass using pigmented resin for both layers. The first layer was biaxial mat. I used this to make sure that any twisting of the wood underneath would not rip the waterproof covering glass as it had on the factory covering.
Also note the transom drain tube installed in the forward bilge bulkhead. All of the water seen in earlier pictures had no where to exit. Even so, foam would have blocked it's path. More on that coming up.
Next I applied a standard 10 oz cloth over the top. I used the white pigment because I will be painting the whole backend of the boat with Interlux Brightsides and wanted a white undercoating in the event of any scuffs.
I had taken meticulous measurement of the 4-3 lag motor mount feet. I filled the original ones with epoxy prior to re-glassing the mount timbers. After glassing I redrilled new holes, chamfered the glass around the holes, ran in the stainles lag bolts and then began to flood the holes with CPES. Over several days I would refill the holes as they drank it in. Now if any water wanders down the holes A) the bolts won't rust away, B) the water will not be able to penetrate out into the stringer causing ROT. I'll probably give each hole a big squirt of 3M 4200 before I run the bolts in for good.
As you might imagine this bilge will be here when the whole boat disintegrates around it.
|
|
|
|
|
|
|
|
|
All projects on Shareaproject.com are user-submitted and should be used for reference information only. The projects are not intended to be complete "How-To" articles. Use the information contained in these projects at your own risk. Projects are not checked for completion, accuracy, or safety and therefore cannot be guaranteed in any way.
Outdoor Blog
|